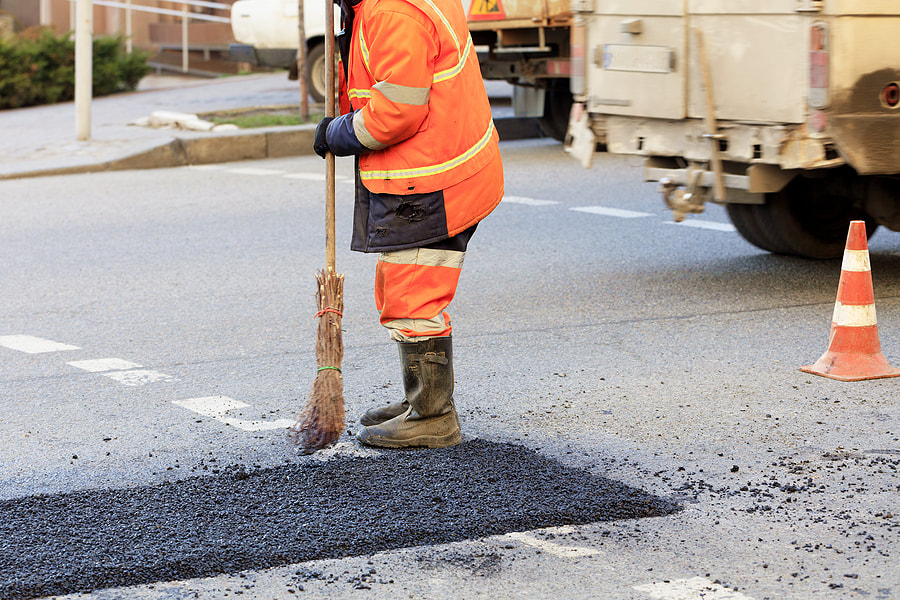
The pothole patching process is where the existing pavement is covered or replaced with new material to repair the existing pavement fully. Asphalt concrete pavement can be damaged due to various factors such as weather and water, among others; it starts to break down and slowly creates potholes. Besides, potholes give your pavement an untidy and unappealing appearance, not to mention it renders the area dangerous because an accident can quickly occur there. Potholes are brought about by poor underlying support, traffic stresses, presence of moisture, just to mention but a few. Therefore pothole patching is regarded as a permanent repair because it can last for more than a year. The process involves six steps that will provide your pavement with a long repair life span in the future.

The pothole patching process steps
Step 1. Setting up traffic control measures. It is crucial to check the place where patching needs to be done thoroughly. Then, depending on the highway or road type and space, place the correct signing such as a flag or any other traffic control measure; thus, ensuring that there is zero traffic passing there and patching can seamlessly be executed. Furthermore, placing a sign around the patching area controls the traffic and will not create any problem whatsoever in the patching process.
Step 2. Marking the portion to remove
Before beginning the patching procedure, the patching contractors need to mark a line on the affected part by using chalk or paint. Besides, lines need to characterize the addition of more than a foot of sound pavement surrounding the potholes.
Step 3. Preparing the potholes.
Making the potholes ready implies getting ready for all the material from the potholes and ensuring it is clear. This procedure involves three steps, including cutting, cleaning, and drying. First and most importantly, worsen pavement material is gotten rid of by cutting. The pothole is then thoroughly cleaned by eliminating all the water, stones, and dust particles from it. Lastly, drying is performed with heat or air to remove all the moisture from the potholes.
Step 4. Applying tack to bottom and sides.
Before filling the potholes, a tack coat is distributed on the bottom and sides of the pothole. Performing this enhances the gap between the patching mixture and old pavement.
Step 5. Placing layers of HMA by compressing every layer and extending the last uncompressed lift above the surrounding pavement.
The layer of asphalt is filled up at least four inches inside the potholes, and it is compressed to a point where it can lower the ability of water to penetrate. The compression is done with the assistance of a vibratory roller as it is the most efficient compacting strategy. The new asphalt mixture needs to be suppressed until it has sufficient density and a similar height when compared to the old pavement.
Step 6. Sealing the patch edge
The patch edges must be sealed with a chip seal or sand to stop water penetration. Also, around six to eight inches of expansive coat asphalt cement is executed to close the patches permanently.
Commonwealth is the best choice for you if you need the best quality and cost-efficient patching option. Pothole patching the perfect way to repair your pavement permanently!
Address
Commonwealth Paving, 136 Outerloop, Louisville, Kentucky 40214
Phone: 502-459-7283, Fax: 502-456-2678
Opening Hours
| Monday | 9:00 AM – 5:00 PM |
| Tuesday | 9:00 AM – 5:00 PM |
| Wednesday | 9:00 AM – 5:00 PM |
| Thursday | 9:00 AM – 5:00 PM |
| Friday | 9:00 AM – 5:00 PM |
| Saturday | Closed |
| Sunday | Closed |


