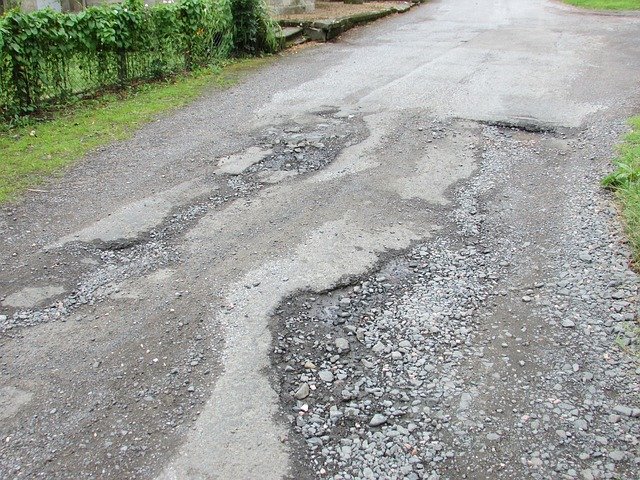
Potholes are one of the biggest menaces on roads today. Not only are they ugly, but they are also a huge safety hazard. If you have ever hit a pothole hard, causing you to lose control of your vehicle, then you certainly understand what I mean. It is for this reason that it is paramount potholes get fixed as quickly as possible. In this blog post, we give you an in-depth guide on how potholes are fixed. We categorize pothole repair into two categories, quick repair, and full repair.
Pothole repair Quick Repair
 Quick repair is a surface-level repair method. This method is temporary and is suitable for adverse cold weather conditions like winter when immediate pothole repair is needed, residential areas, and home driveways. Moreover, this method of repair is a more DIY-friendly version.
How pothole repair Works
- Clean the pothole of any debris and dirt and completely dry it of any water.
- Fill the newly cleaned out pothole with your pothole repair mix and ensure you fill to a level ½ inch above the surrounding surface to allow room for compaction.
- Compact the material using a hand tamper, your car, or any other heavy-level surface.
- Leave it to cure before letting on any traffic. This should take at least 24 hours.
Full Repair
This method is used to permanently fix potholes and will usually prevent them from resurfacing. This is because this method addresses the underlying problems that may have caused the pothole in the first place.
How Pothole Works
- Cut Out and Clean the Hole
Cut out the remove the damaged and surrounding (extend by at least a foot) areas of the pothole using an asphalt saw or a pneumatic hammer. Ensure the cut-out hole is in the shape of a square or a rectangle. Then clean out the debris, stones, and dirt from the hole. Remember to dig out as far down to get a sound base. Then completely dry the pothole of any water.
Also, you should completely uproot any plant life that may be in the hole. If left in the hole, plants will grow and eventually cause a crack in the repaired pothole.
- Restore The Base
You want to ensure you have a solid foundation to lay your pothole repair mix on. Thus, first, fill up the hole about 1-2 inches deep with a coarse gravel and sand mix. You can even recycle the loose asphalt you dug out as your base. Make certain you tamp down and compress the base to create a solid base.
- Fill In
First, you should apply a layer of tack coat onto the sides and bottom of the hole, to improve the bonds between the hole and your pothole repair mix. Then fill in the hole in small batches of ½ inch depths, tamp down before adding another layer of pothole repair mix. Repeat the process until you have filled the hole and allow a ½ inch overlay to allow room for compaction.
- Compact The Hole
Using a vibrating roller or plate, compact the newly filled-in hole to create a tight patch. You can then seal the edges of the patch by creating a 6-8 inch wide coat using sand or chip seal. This ensures the whole patch is completely sealed and will prevent any water from getting in. Finally, leave your patch to cure
- Sealcoat
This is an important step that is often forgotten but is essential if you want your pothole repair to last longer. Wait four hours after the repair, then apply a layer of seal coating to the area. This will protect your patch from any water, sun, and automobile fluids.
There you have it, your step-by-step guide to pothole repair. Furthermore, if you require professional and efficient pothole repair, contact Commonwealth, and we will help you fix the in no time.
Address
Commonwealth Paving, 136 Outerloop, Louisville, Kentucky 40214
Phone: 502-459-7283, Fax: 502-456-2678
Opening Hours
| Monday | 9:00 AM – 5:00 PM |
| Tuesday | 9:00 AM – 5:00 PM |
| Wednesday | 9:00 AM – 5:00 PM |
| Thursday | 9:00 AM – 5:00 PM |
| Friday | 9:00 AM – 5:00 PM |
| Saturday | Closed |
| Sunday | Closed |


