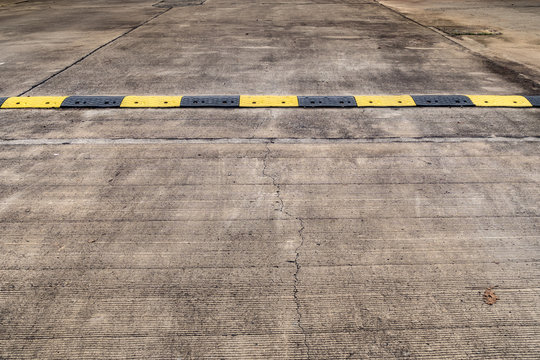
Speed bumps are an integral feature of every parking lot. They slow aggressive or inattentive drivers down, protecting property damage as well as pedestrian injury. Speed bumps can be made of a variety of materials, including concrete, plastic, and metal; however, asphalt speed bump are the most popular—and for very good reasons.
 Asphalt speed bumps offer numerous advantages. They are, for example, more strong and durable than rubber or plastic, which must be replaced every year.
You are probably wondering how to install an asphalt speed bump in your parking lot.
Installing an asphalt speed bump can look like a daunting task, but it is a lot easier than you would think. In this blog, we will go over how to install an asphalt speed bump step by step so you can be sure you are doing it right.
Step 1: Setting up the area for installation.
The first step is to mark and prepare the area to be paved later.
You will want to mark the area with a saw cut. The best way to go about this is to keep a one-foot distance from the curb or pathway when sawing—this ensures that you will not be obstructing the flow of water.
You will also need to know the length and width of the speed bump you will install. A speed bump is typically 3 to 4 inches high and 2 to 3 feet wide. However, the dimensions may differ based on the contractor or your preferences.
Step 2: Laying down the Asphalt Speed Bump
After you have finished sewing and removing the asphalt, you may proceed to the next step: laying the asphalt.
Once you have laid down the initial asphalt layer, hand tamp it to help the asphalt settle in smoothly. After the initial layer has settled, you can begin installing the speed bump. The first layer of the speed bump should be up to 3 inches high and raked to avoid any mess.
From there, you will want to use a speed bump lute—which is a rake-like instrument used to create the speed bump—to give your speed bump a smoother texture. As the hot asphalt begins to spread, clean around the edges and hand tamp it one last time to lock in the asphalt.
Step 3: Give it time to Asphalt Speed Bump
Understanding how asphalt speed bumps are installed is important, but it is also important to understand how long the process takes. After installing the speed bump, you will need to allow it some time to cool down. Because the asphalt is hot, you should create a barrier around it to allow it to cool.
Asphalt can cool in less than a half-hour, but it is best to leave it for an hour or longer as a precaution. You can stripe the asphalt once it has completely dried. The paint, like the asphalt, should not take more than an hour or two to dry completely.
And there you have it: your asphalt speed bumps are now installed and ready!
Address
Commonwealth Paving, 136 Outerloop, Louisville, Kentucky 40214
Phone: 502-459-7283, Fax: 502-456-2678
Opening Hours
| Monday | 9:00 AM – 5:00 PM |
| Tuesday | 9:00 AM – 5:00 PM |
| Wednesday | 9:00 AM – 5:00 PM |
| Thursday | 9:00 AM – 5:00 PM |
| Friday | 9:00 AM – 5:00 PM |
| Saturday | Closed |
| Sunday | Closed |


