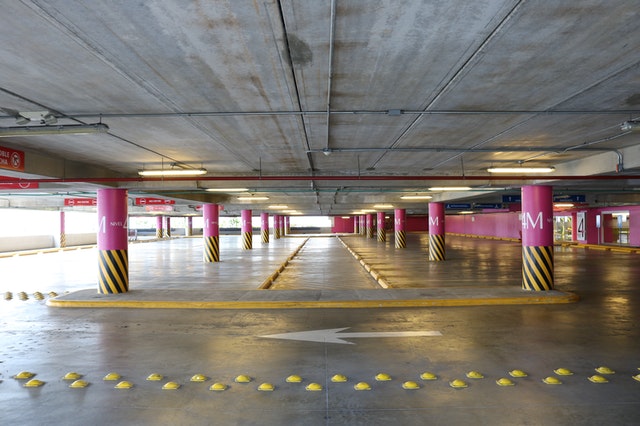
Painting professional lines to any asphalt Parking Lot Striping can significantly improve its curb appeal and safety. Fortunately, getting that professional look and enhanced safety is a relatively straightforward process if you follow the four essential steps outlined below:
Step 1: Prep Work for Parking Lot Striping
If the paint does not adhere properly to the asphalt pavement, it will chip or wash away quickly, and all of your efforts will be in vain. Make sure you are well prepared for the paint job to reduce this risk. This means using the right paint supplies and ensuring the surface is perfectly clean.
Parking lot striping must be able to withstand the ravages of weather conditions, vehicular traffic, and other factors that can affect its visibility over time. Therefore, make sure you are buying asphalt-specific paint. These are available in two varieties: oil-based and water-based. Before coming to a decision, weigh the pros and cons of both.
Even with the best paint supplies, a parking lot striping project will look sloppy if the paint is applied to an unprepared surface. Start by removing any debris, dust, loose asphalt, and vegetation off the surface. Do not forget to fill any cracks or potholes that intersect your striping.
Step 2: Measure and Plan Out the Parking Space
Few things are more infuriating than going through the time-consuming process of parking lot striping, only to discover that the lines are crooked or inconsistent at the end of the day. You can avoid running into this unfortunate situation by sizing out the parking space carefully.
Parking spaces should be 18 feet long and 9 feet wide, with a 24-foot wide driving lane between each row of parking spots. A measuring wheel or surveyor’s tape measure will help you ensure that your measurements are precise.
You will also need to think about where you will place indicators like directional arrows and handicap spaces. Do not forget to check with your local codes to ensure that you are in compliance with any accessibility regulations.
Step 3: Paint Parking Lot Striping
Now that you have planned out all of your parking lot lines and signs, it is time to start painting. You can paint the lines manually, but it can be exhausting, especially if you are painting an entire lot. Using a line striping machine will speed up the process and produce significantly greater striping results.
Entry-level line stripers are great for painting small parking lots. However, larger or more complex striping projects may necessitate professional-grade models with a greater paint capacity and additional features or attachments for a wider range of applications.
Regardless of the machine you choose, you will be able to paint lines in your parking lot by simply pulling the trigger and walking it over the marked areas. Most line striping machines also have a locking mechanism that prevents the wheels from spinning and ensures a perfectly straight line every time.
Step 4: Give It Time to Dry
 The parking lot striping job is not done once the paint is applied. Although the striping looks great now, it can still get damaged until the paint has settled. Therefore, it is critical to keep traffic off the freshly painted lines until they are completely dry. You can use safety cones and caution stripes to alert drivers that the parking area is momentarily closed.
Be sure to read the back of the paint container because drying times will vary depending on the type of paint used and ambient temperature.
Address
Commonwealth Paving, 136 Outerloop, Louisville, Kentucky 40214
Phone: 502-459-7283, Fax: 502-456-2678
Opening Hours
| Monday | 9:00 AM – 5:00 PM |
| Tuesday | 9:00 AM – 5:00 PM |
| Wednesday | 9:00 AM – 5:00 PM |
| Thursday | 9:00 AM – 5:00 PM |
| Friday | 9:00 AM – 5:00 PM |
| Saturday | Closed |
| Sunday | Closed |


